Douglas B. Holmes |
Tutotial: Audio Engineering
First open the Movie in Quicktime so you can find out the inspector to find out what you will be working with.
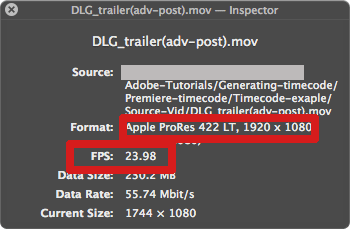
Make a root folder for your project and put the Apple Prores Video in a folder called "Source-Vid." Note this is the highest resolution movie provided by the video team.

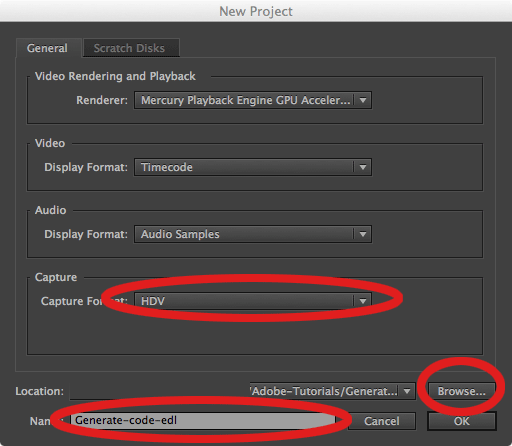
Open up Premiere and set the new project settings to the project folder. Here you name the project and set capture settings.
This is what your root folder should look like after generating the EDL

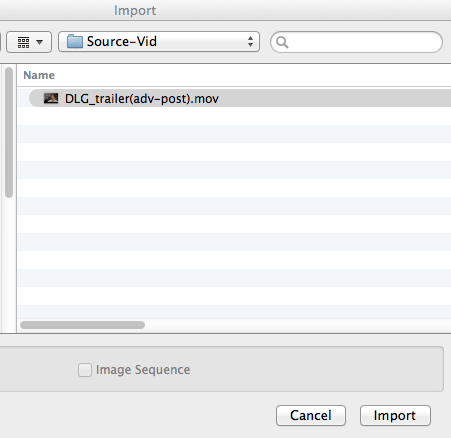
Now it is time to import the movie into the bin (do not drag and drop onto the timeline)
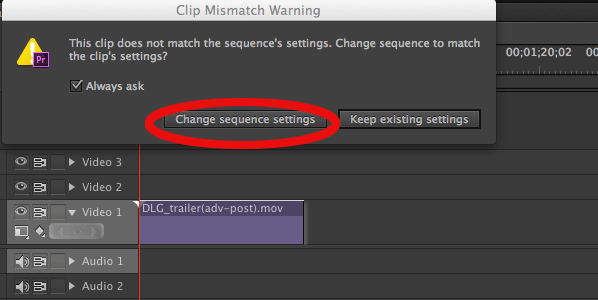
Drag the clip from the bin onto the timeline. When you do you will get an error, select the "change sequence settings"
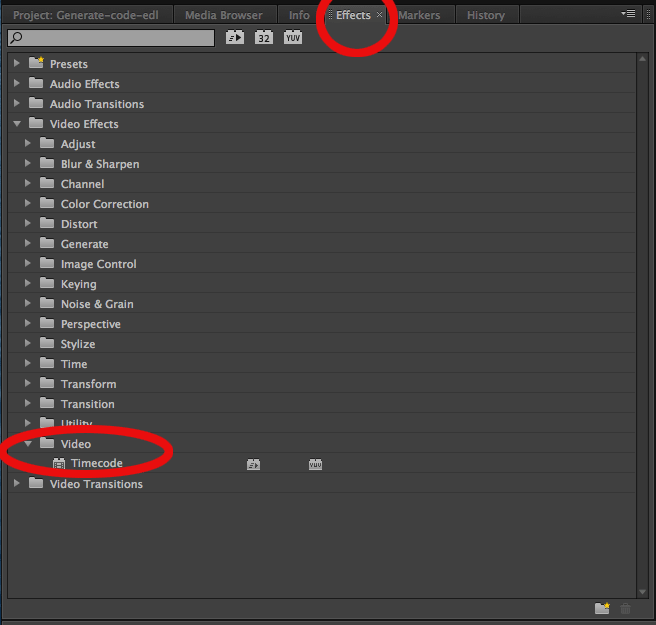
Located in the project bin tab, select effects and drag the timecode effect onto the video clip that is on the timeline
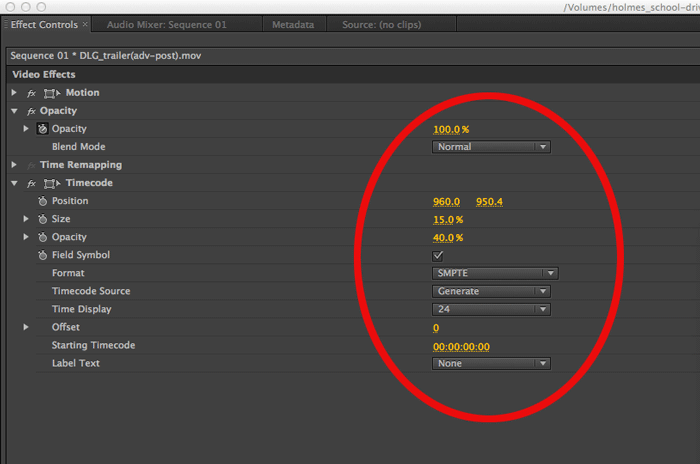
In the effects controls Make the appropriate settings
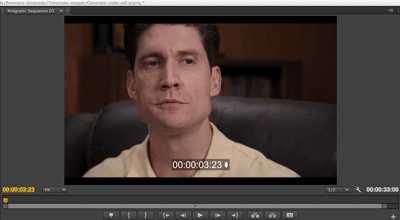
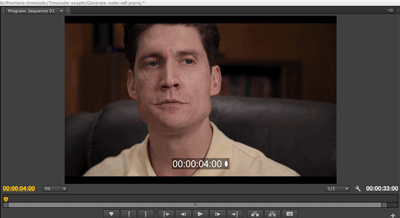
Use the arrow keys to advance the timeline frame by frame to check to see that the timecode is correct
Export the timelock video. Create a new folder in your project folder for the picture-lock and name your file
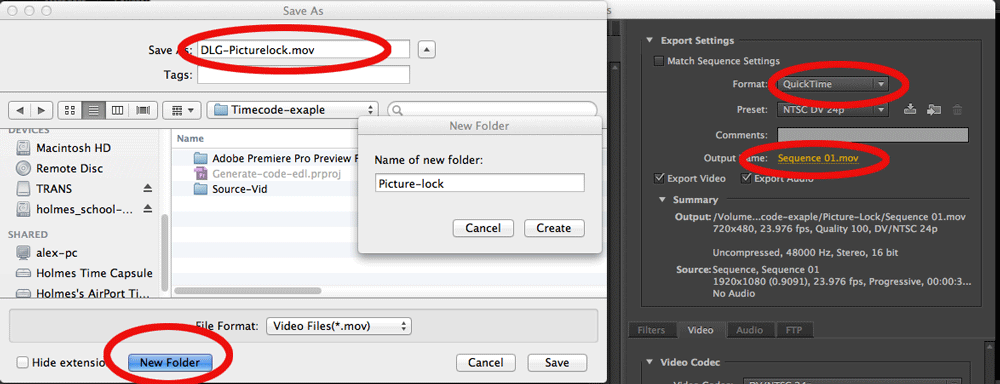
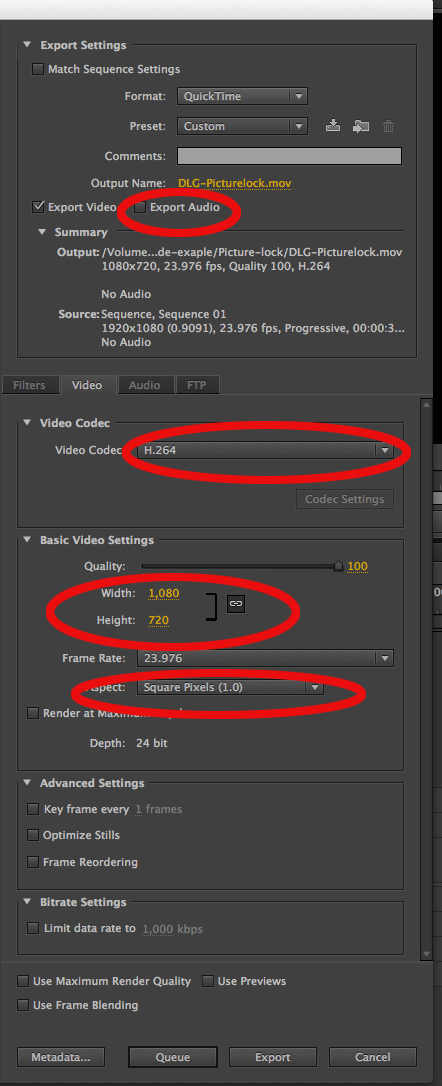
Set your export setting: Picture lock will not be as large and bulky as the full resolution film (no audio needed)
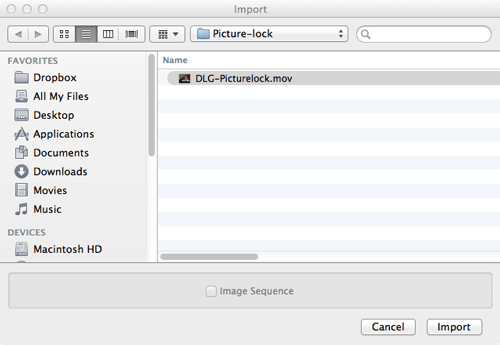
Import you picture lock into the existing premiere project
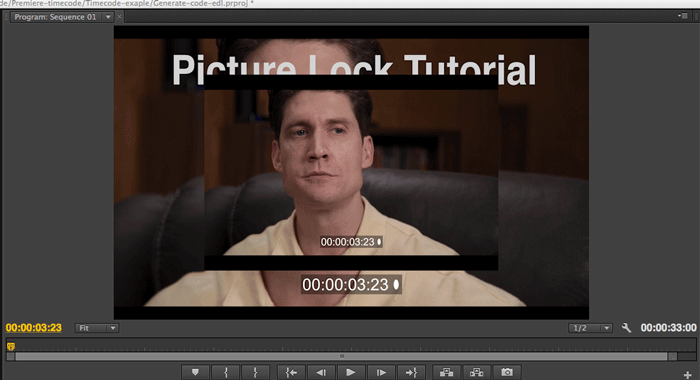
Put the picture lock on the video track directly above the original film
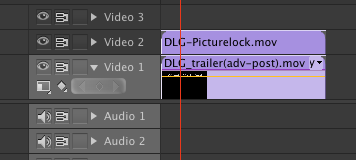
By doing this, the smaller movie covers the original movie and you can advance frame by frame to make sure lock is valid.
Save your Première project, you will be able to resolve the audio to the video when you are finished with sound design.